Dears,
Linux all this time, now my work requires me practise a windows setup of PostgreSQL. Hence I am writing this blog to show you how to setup PostgreSQL on windows 2019 datacenter edition (I used windows evaluation one).
To setup windows in vagrant, I used one of the public boxes available in vagrant public cloud....
url: https://app.vagrantup.com/StefanScherer/boxes/windows_2019
As usual I created my jump link to support the windows 2019 vm, as you see below...
1) Directory C:\VBoxVms\vagrant_home\vwin2019_postgres is created
2) Ran the below command... to create a jump link
mklink /j C:\cygwin64\home\rajalab\dba\vwin2019_postgres C:\VBoxVms\vagrant_home\vwin2019_postgres
3) Navigate to the jump link we created in cygwin64 terminal....
rajalab@<machinename> ~/dba/vwin2019_postgres
$ pwd
/home/rajalab/dba/vwin2019_postgres
rajalab@<machinename> ~/dba/vwin2019_postgres
4) Created the vagrant file with the below contents
Vagrantfile content:
Vagrant.configure("2") do |config|
config.vm.box = "StefanScherer/windows_2019"
end
5) Launch "vagrant up" command
rajalab@<MachineName> ~/dba/vwin2019_postgres
$ vagrant up
Bringing machine 'default' up with 'virtualbox' provider...
==> default: Box 'StefanScherer/windows_2019' could not be found. Attempting to find and install...
default: Box Provider: virtualbox
default: Box Version: >= 0
==> default: Loading metadata for box 'StefanScherer/windows_2019'
default: URL: https://vagrantcloud.com/StefanScherer/windows_2019
==> default: Adding box 'StefanScherer/windows_2019' (v2021.05.15) for provider: virtualbox
default: Downloading: https://vagrantcloud.com/StefanScherer/boxes/windows_2019/versions/2021.05.15/providers/virtualbox.box
Download redirected to host: vagrantcloud-files-production.s3-accelerate.amazonaws.com
default:
==> default: Successfully added box 'StefanScherer/windows_2019' (v2021.05.15) for 'virtualbox'!
==> default: Importing base box 'StefanScherer/windows_2019'...
==> default: Matching MAC address for NAT networking...
==> default: Checking if box 'StefanScherer/windows_2019' version '2021.05.15' is up to date...
==> default: Setting the name of the VM: vwin2019_postgres_default_1668863526676_75065
==> default: Clearing any previously set network interfaces...
==> default: Preparing network interfaces based on configuration...
default: Adapter 1: nat
==> default: Forwarding ports...
default: 3389 (guest) => 3389 (host) (adapter 1)
default: 5985 (guest) => 55985 (host) (adapter 1)
default: 5986 (guest) => 55986 (host) (adapter 1)
default: 22 (guest) => 2222 (host) (adapter 1)
==> default: Running 'pre-boot' VM customizations...
==> default: Booting VM...
==> default: Waiting for machine to boot. This may take a few minutes...
default: WinRM address: 127.0.0.1:55985
default: WinRM username: vagrant
default: WinRM execution_time_limit: PT2H
default: WinRM transport: negotiate
Timed out while waiting for the machine to boot. This means that
Vagrant was unable to communicate with the guest machine within
the configured ("config.vm.boot_timeout" value) time period.
If you look above, you should be able to see the error(s) that
Vagrant had when attempting to connect to the machine. These errors
are usually good hints as to what may be wrong.
If you're using a custom box, make sure that networking is properly
working and you're able to connect to the machine. It is a common
problem that networking isn't setup properly in these boxes.
Verify that authentication configurations are also setup properly,
as well.
If the box appears to be booting properly, you may want to increase
the timeout ("config.vm.boot_timeout") value.
rajalab@<MachineName> ~/dba/vwin2019_postgres
Please ignore the messages like vagrant isnt able to communicate with the machine in specified interval.
The windows 2019 datacentre edition came online fine. I noticed it in the virtualbox console.
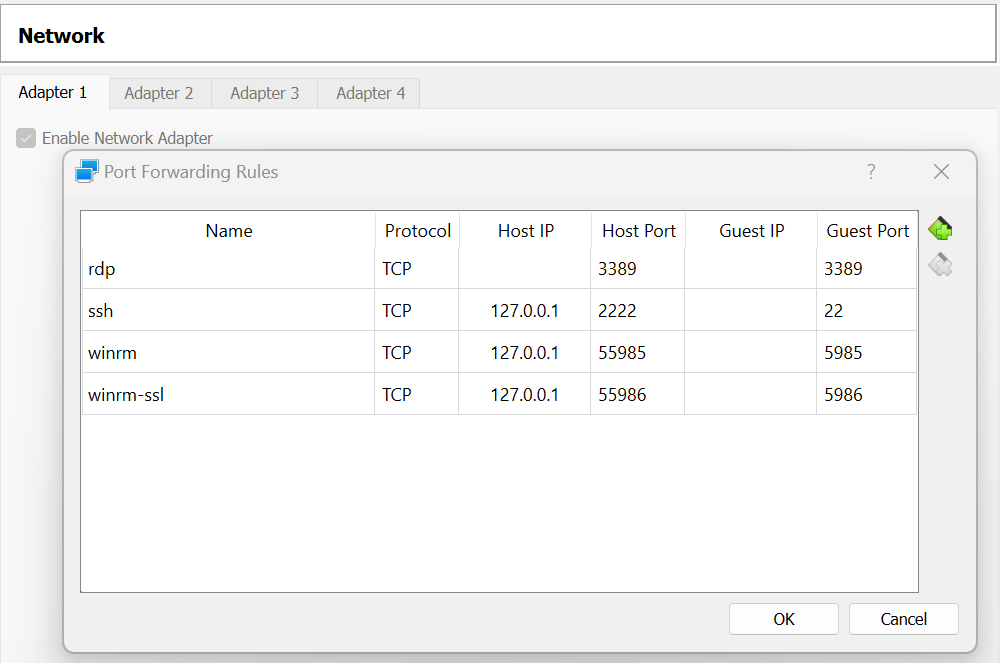
The virtual box console allowed me to connect for the first time without any credentials. Hence I reset the administrator account credentials and used rdp to perform rest of the work. Please note by default vagrant when booted the windows vm, it created port forwarding rules as you see below. Hence the rdp port is retained as is, since the local laptop is a windows 11 home edition and it doesnt support rdp. Hence using the port 3389 in both host and guest makes the rdp access bit easier.
Ok, the rdp works fine. This closes the vagrant part of the windows VM setup. Now we need to look at our real PostgreSQL setup. Please download and install chrome. I upsized the vm memory by 3 more GBs. So I have 5GB memory allocated to the vm.
PostgreSQL setup on windows 2019 datacenter edition:
Path standard I followed are...
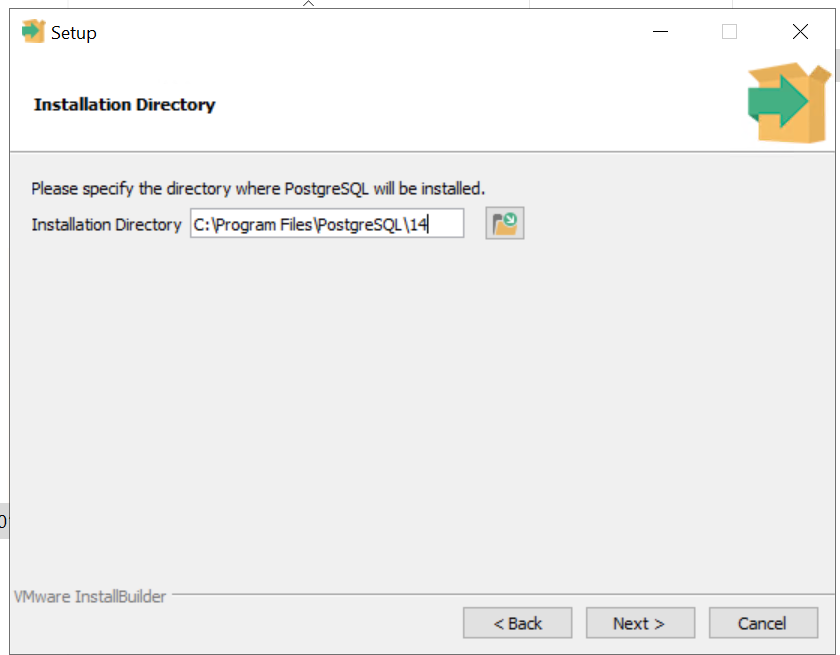
PGBIN: C:\Program Files\PostgreSQL\14
PGDATA: C:\Users\Administrator\PostgreSQL\14\data
1) Download the PostgreSQL installer from postgresql.org, it will redirect you to the edb website as shown below...
url we landed on: https://www.enterprisedb.com/downloads/postgres-postgresql-downloads
2) On completion of download...
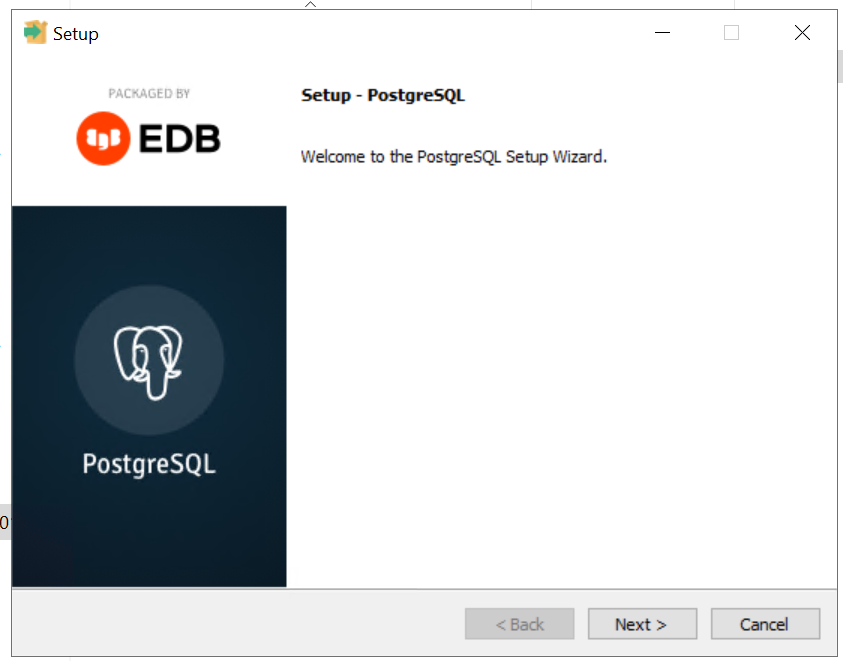
3) Since we logged in as administrator, we can initiate the PostgreSQL install...
4) The PGBIN path can be seen here...
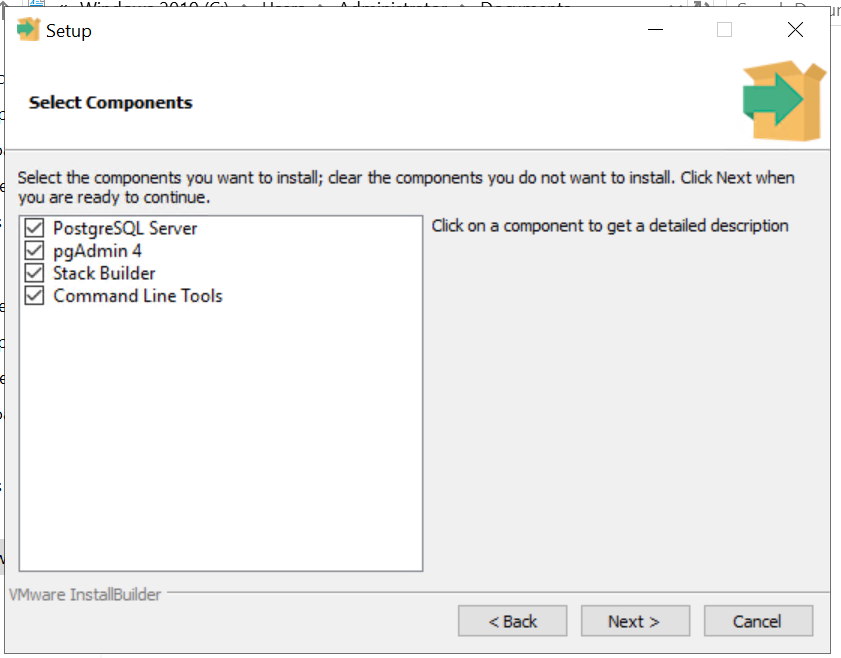
5) On clicking next, we will notice the list of additional components that gets installed. Leave them selected.
6) On clicking next, we will be prompted to enter the PGDATA directory, see below I have updated it to the path we mentioned above. By default PGDATA will stay inside the PGBIN path.
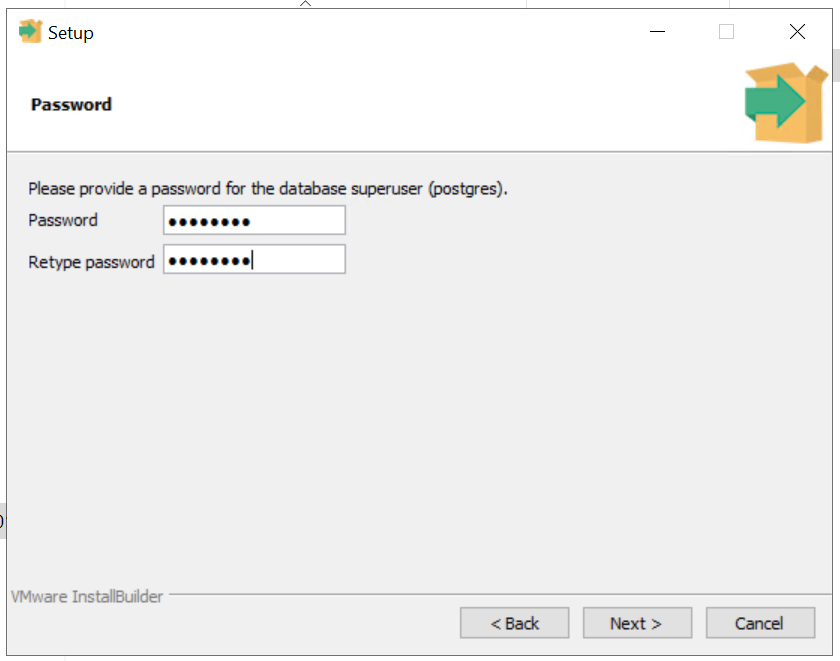
7) Please enter the postgres (the super user in postgres database) password...
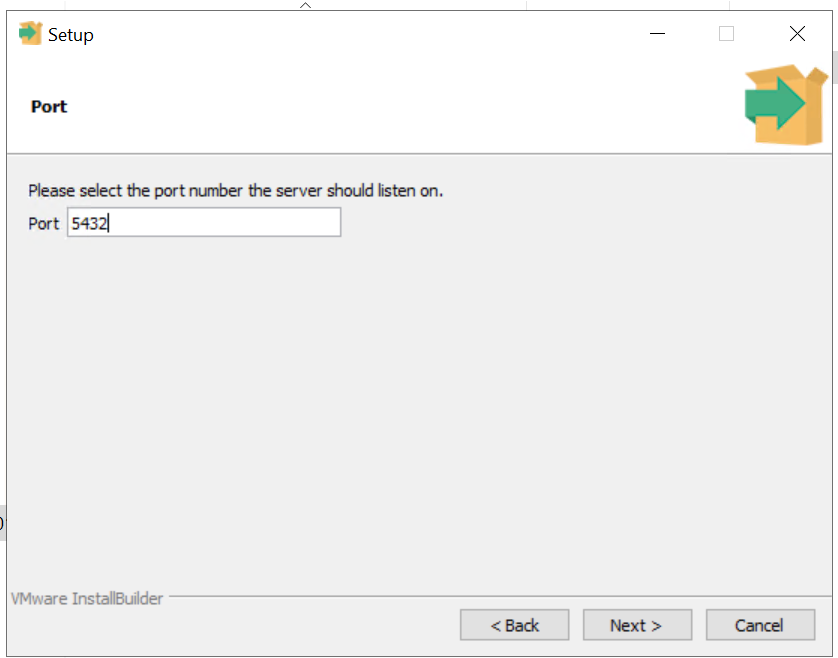
8) On clicking next, we can mention the port number on which postgresql will listen for connections incoming...
9) On the next screen we can see an option to change the "Locale" option, by default it will use the host OS locale setting, which by default points to Eng-US.
10) On clicking next, we can see the installation summary coming up... here you notice the PGBIN and PGDATA paths along with service name, that will be visible in services.msc.
11) On clicking next, it double confirms for the install to be kicked off...
12) Install kicked off...
Time now: 7:10PM
13) Install inprogress... Time now: 7:13PM
14) Installation finished. Time now: 07:16PM.
15) So in summary it took 6 mins on SSD with 5GB memory to complete the install. Please cancel the next screen and complete the install.

Post install verification:
1) psql command not found error!!!
C:\Users\Administrator>psql
'psql' is not recognized as an internal or external command,
operable program or batch file.
C:\Users\Administrator>
2) So we go the %PGBIN%\bin path and launch the psql.exe command. See below...
C:\Program Files\PostgreSQL\14\bin>psql -U postgres -d postgres
Password for user postgres:
psql (14.6)
WARNING: Console code page (437) differs from Windows code page (1252)
8-bit characters might not work correctly. See psql reference
page "Notes for Windows users" for details.
Type "help" for help.
postgres=#
3) We check data_directory to be sure, it is accurate...
postgres=# \l
List of databases
Name | Owner | Encoding | Collate | Ctype | Access privileges
-----------+----------+----------+----------------------------+----------------------------+-----------------------
postgres | postgres | UTF8 | English_United States.1252 | English_United States.1252 |
template0 | postgres | UTF8 | English_United States.1252 | English_United States.1252 | =c/postgres +
| | | | | postgres=CTc/postgres
template1 | postgres | UTF8 | English_United States.1252 | English_United States.1252 | =c/postgres +
| | | | | postgres=CTc/postgres
(3 rows)
postgres=# show data_directory;
data_directory
-------------------------------------------
C:/Users/Administrator/PostgreSQL/14/data
(1 row)
postgres=#
4) Let us examine the service status...
This closes this blog. We have setup postgresql cluster on windows 2019 datacenter edition machine.
Thanks for your visit. Welcome back again.


